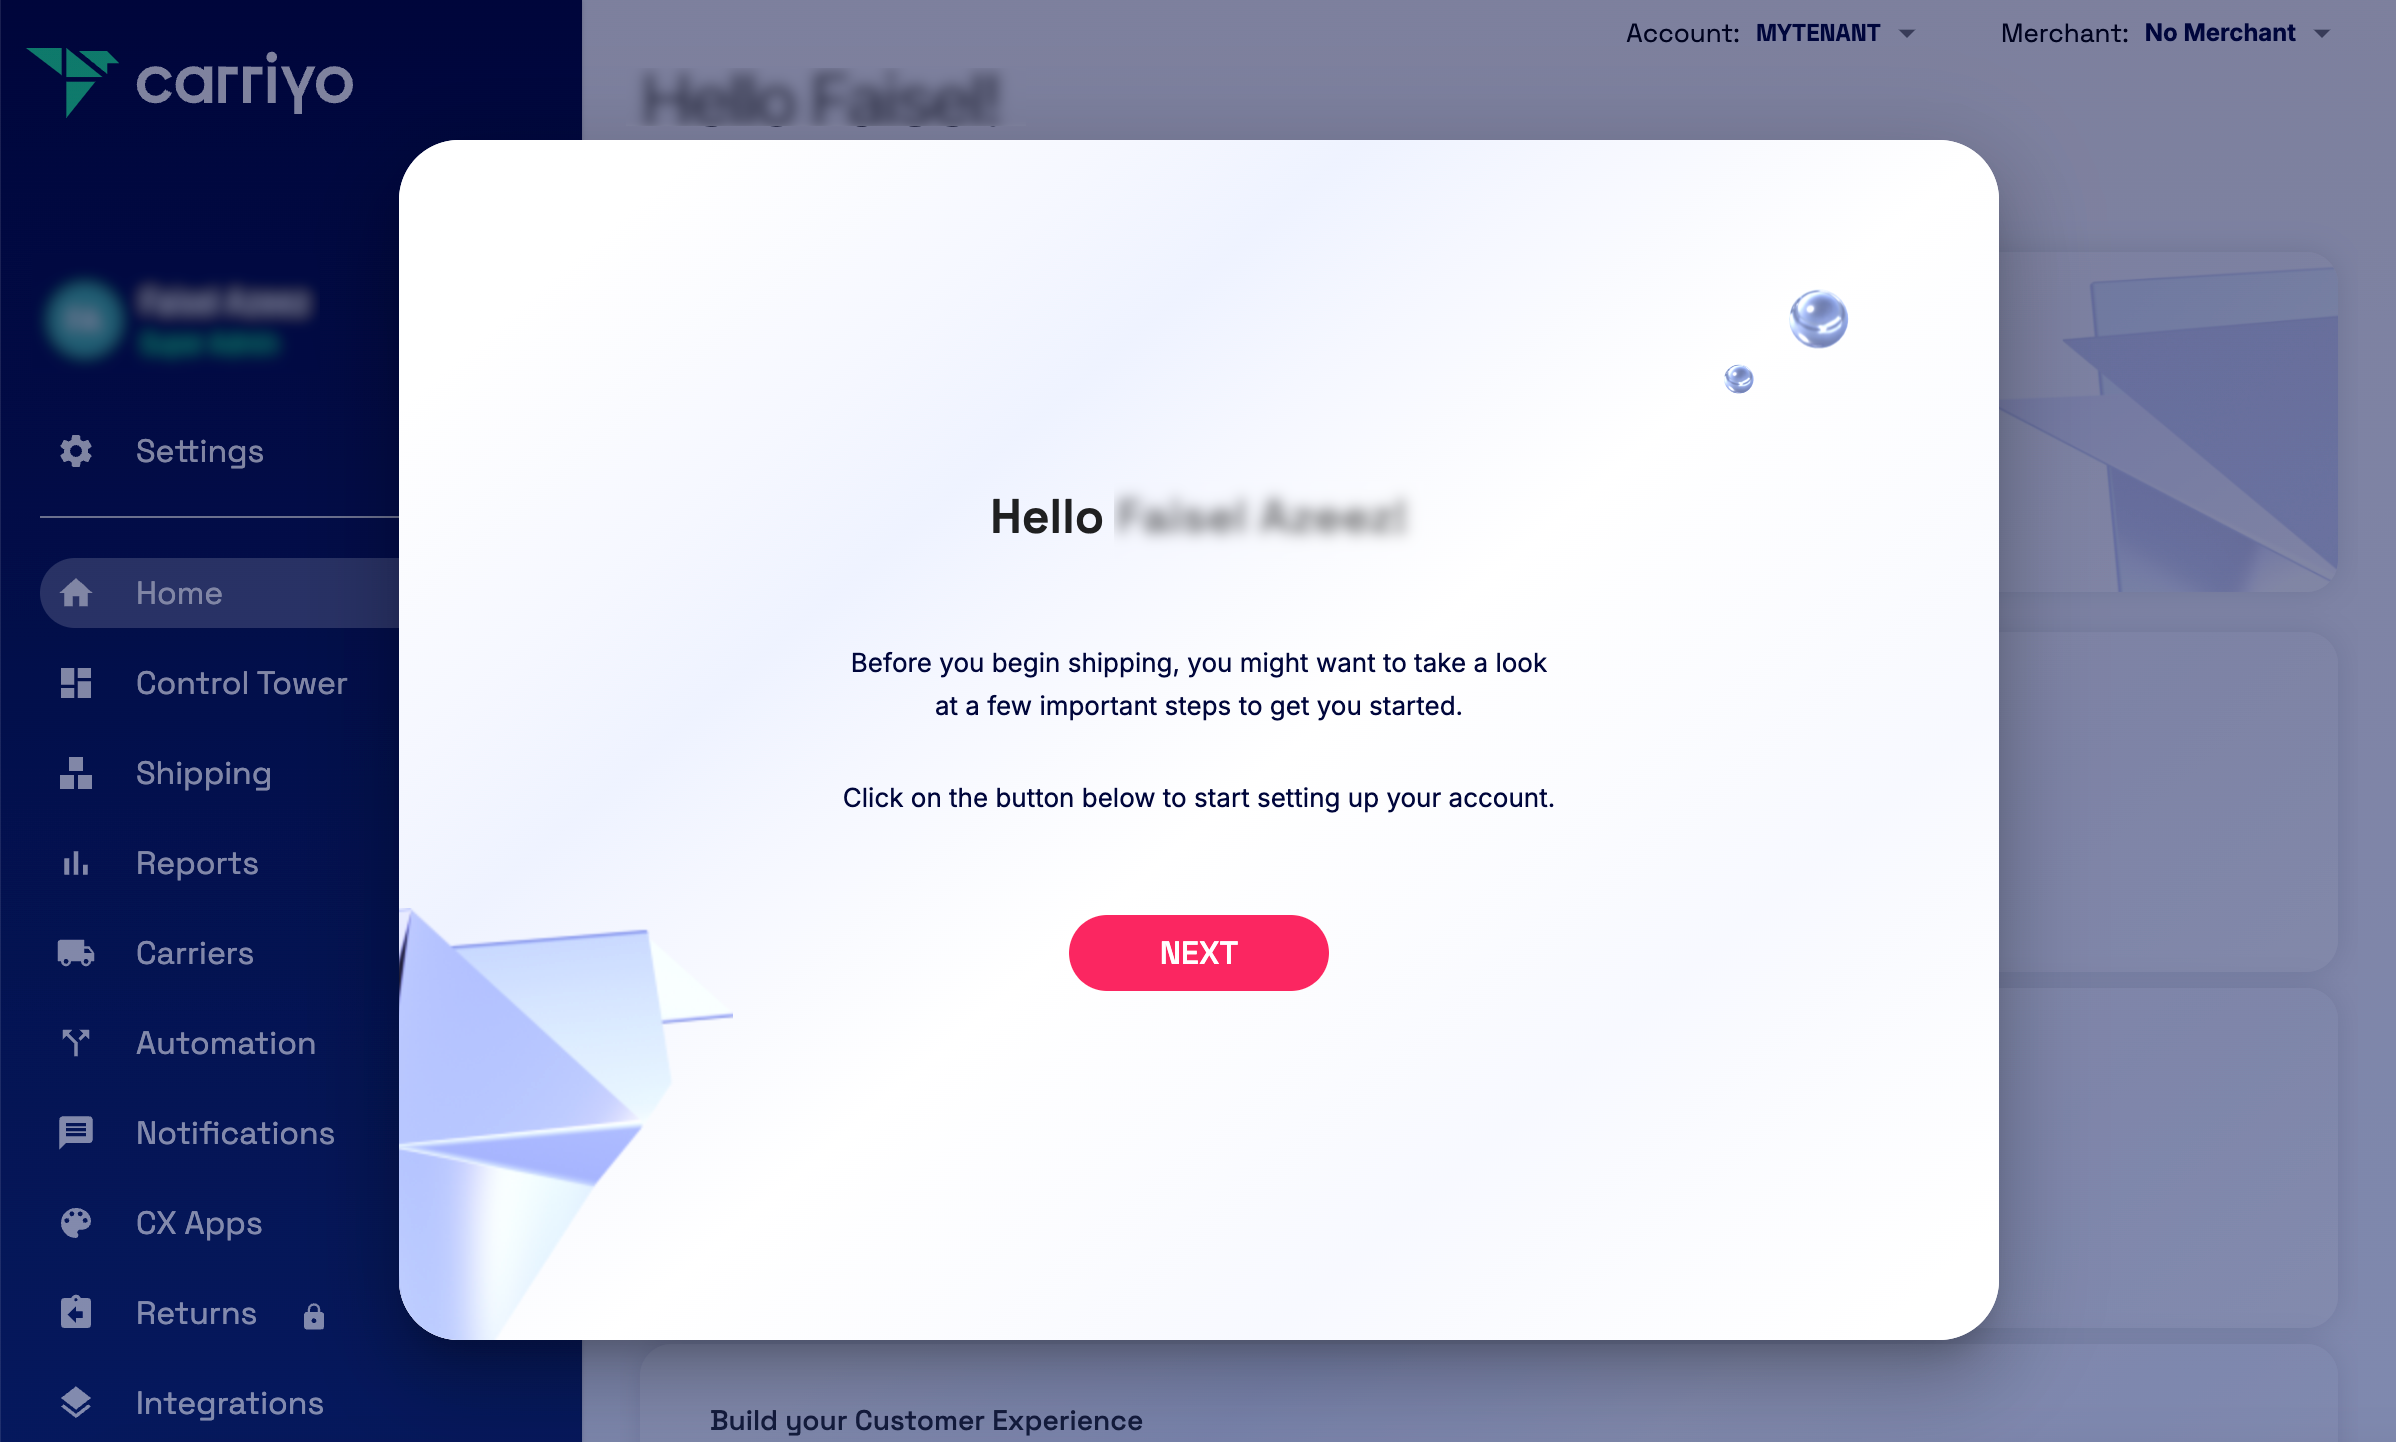
Configure Your Carriyo Account
When you log into the Carriyo Dashboard for the first time, you’ll be guided through an account setup process. Follow the steps in the Setup Wizard to configure your account:
-
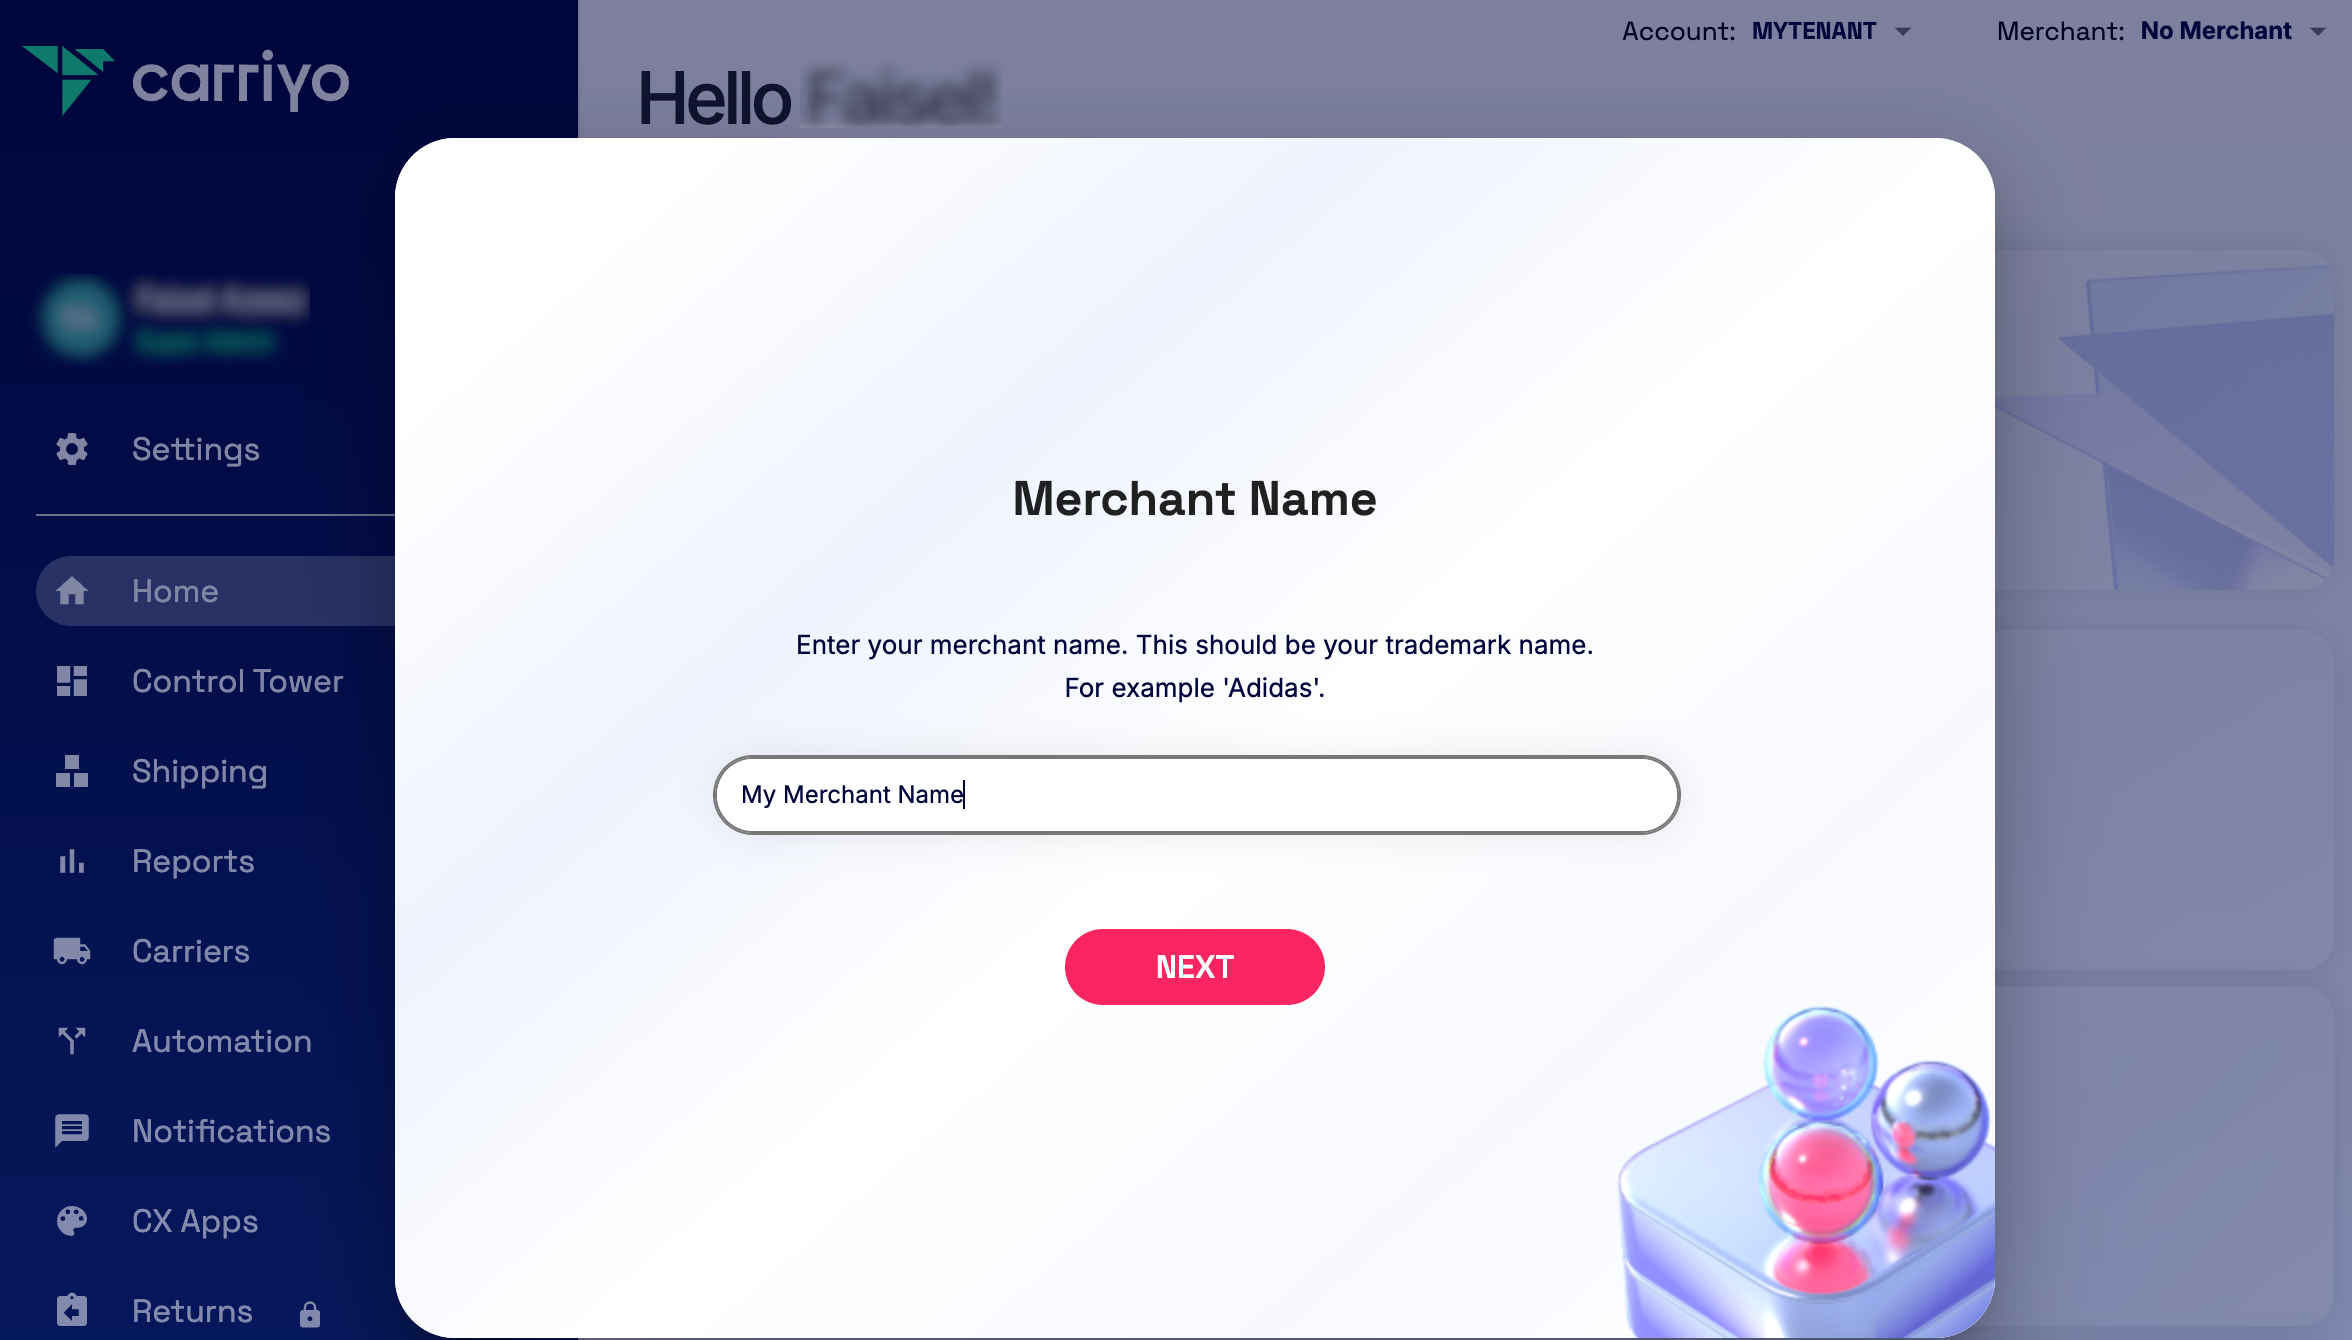
Setup your merchant
: Upon your first login, you’ll be prompted to create a new merchant to represent your business unit or brand. After providing a name, Carriyo will generate a unique merchant ID.
-
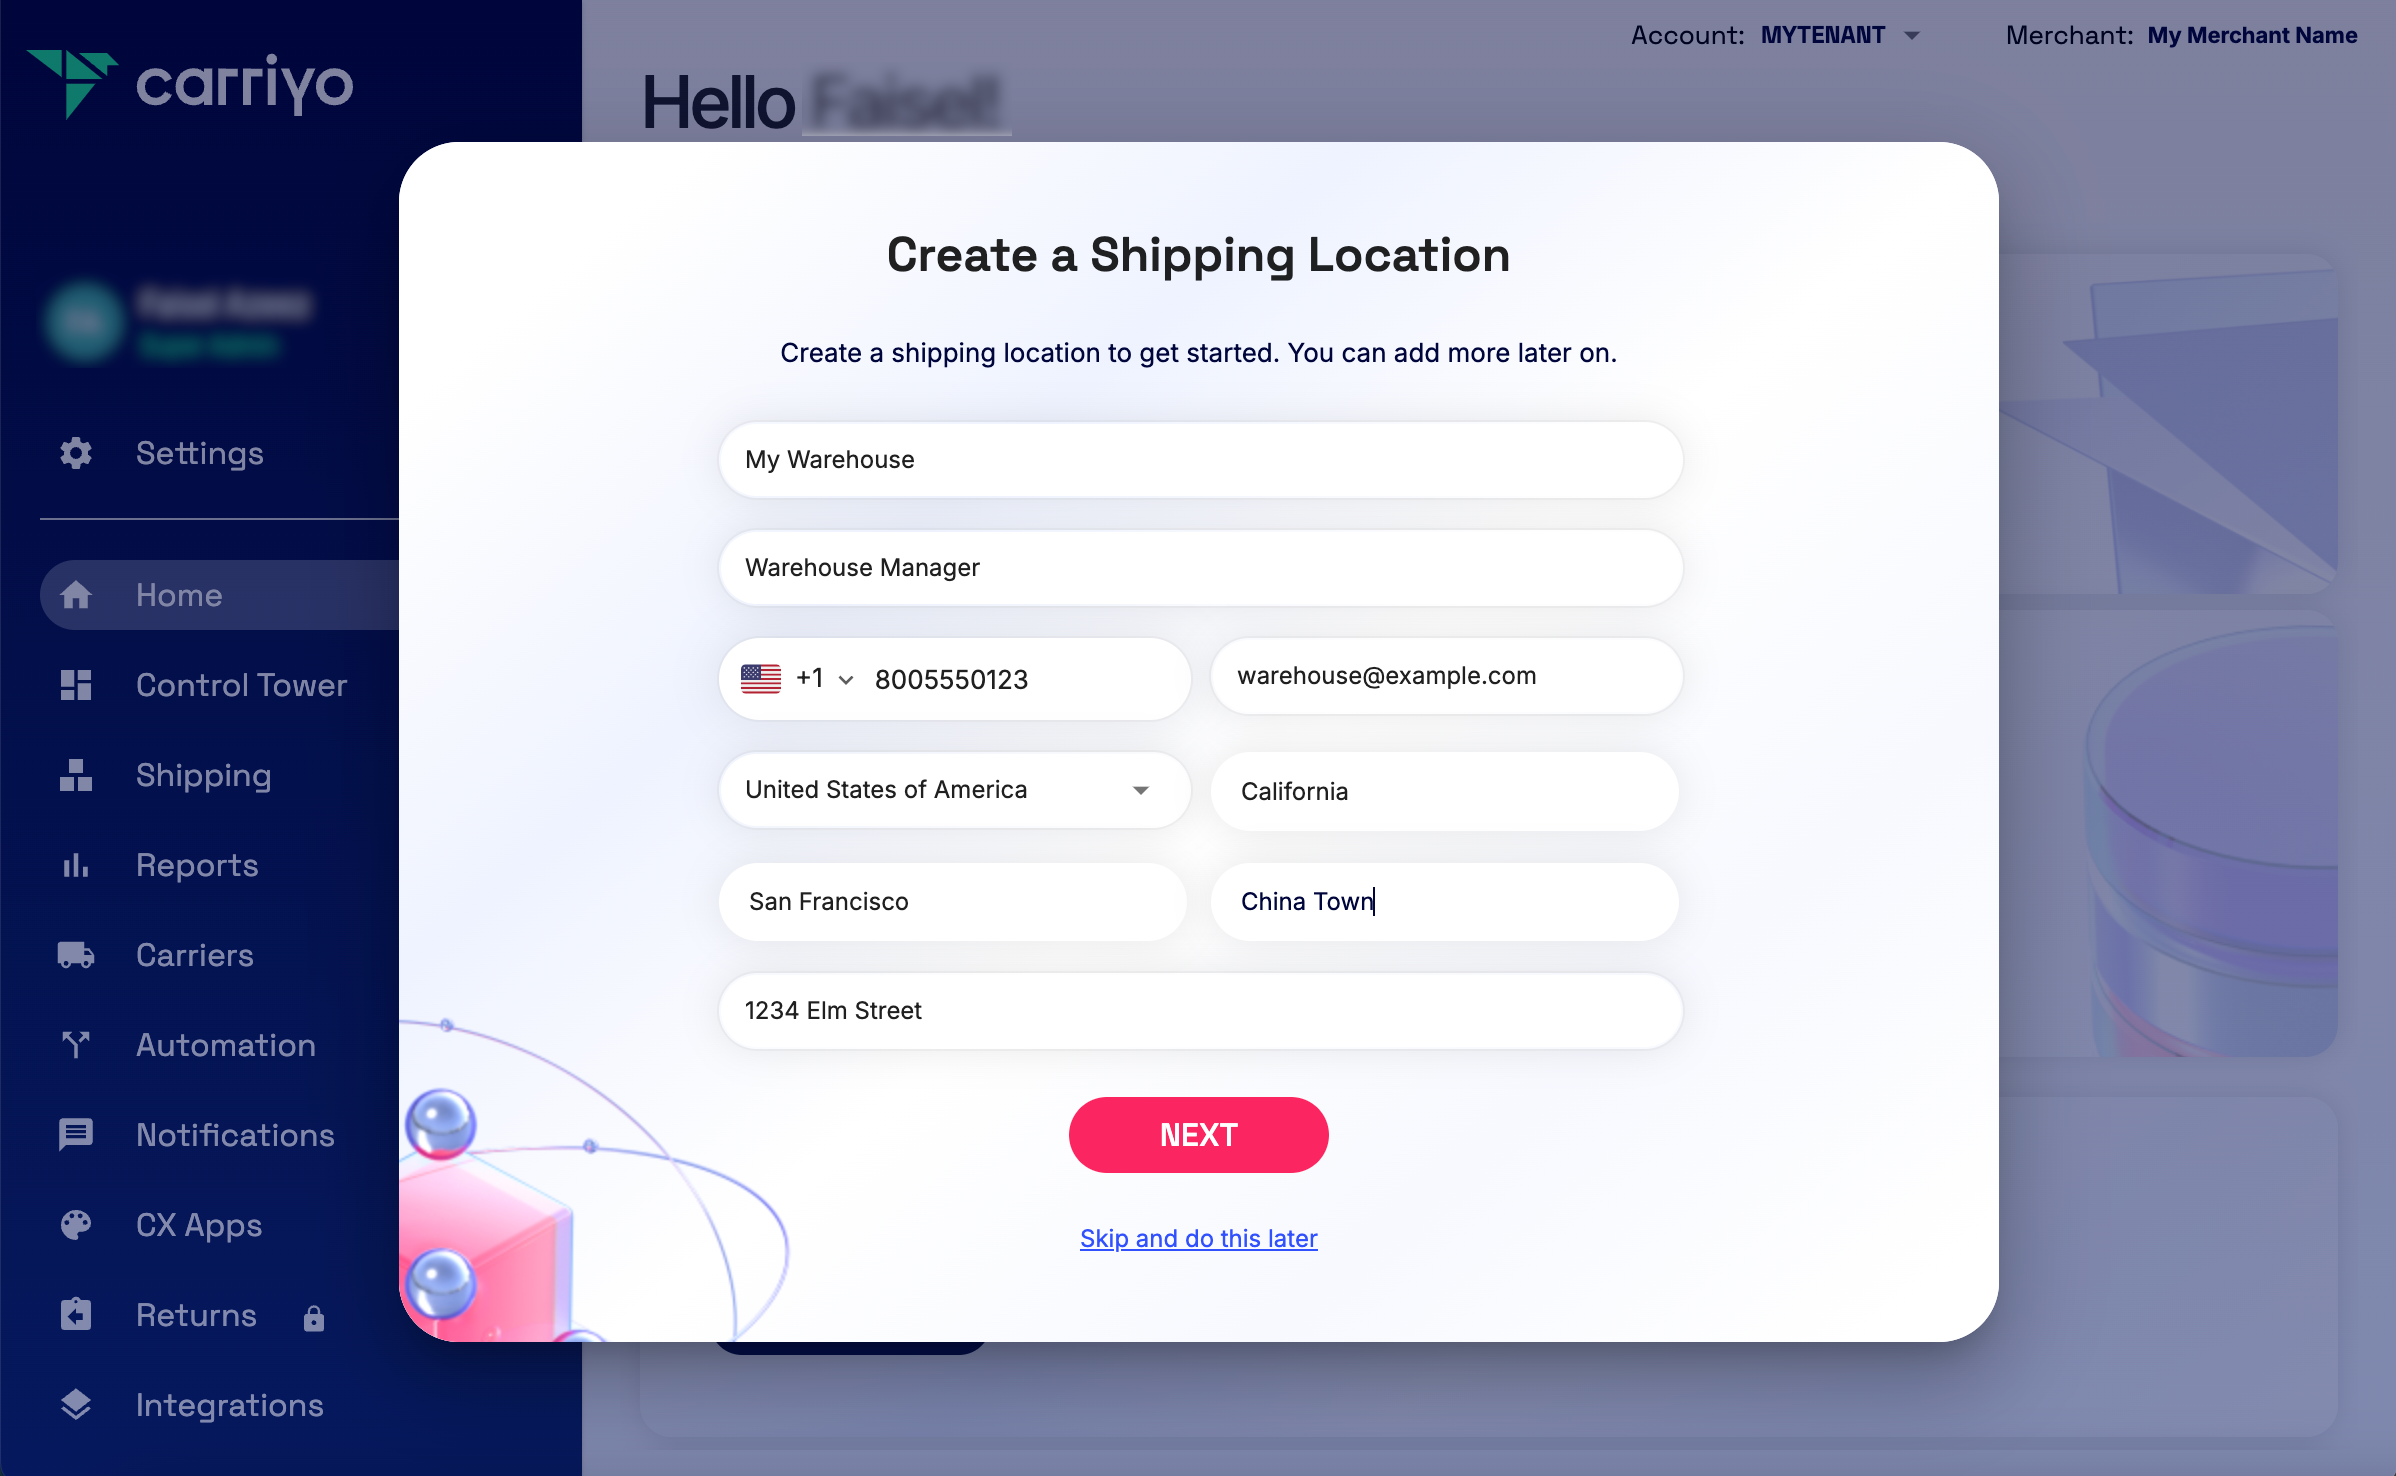
Setup your shipping location
: After creating a merchant, you’ll be prompted to create at least one shipping location for your business. You can add more locations later via the "Settings" menu in the Carriyo Dashboard. These shipping locations will be used when creating shipments.
-
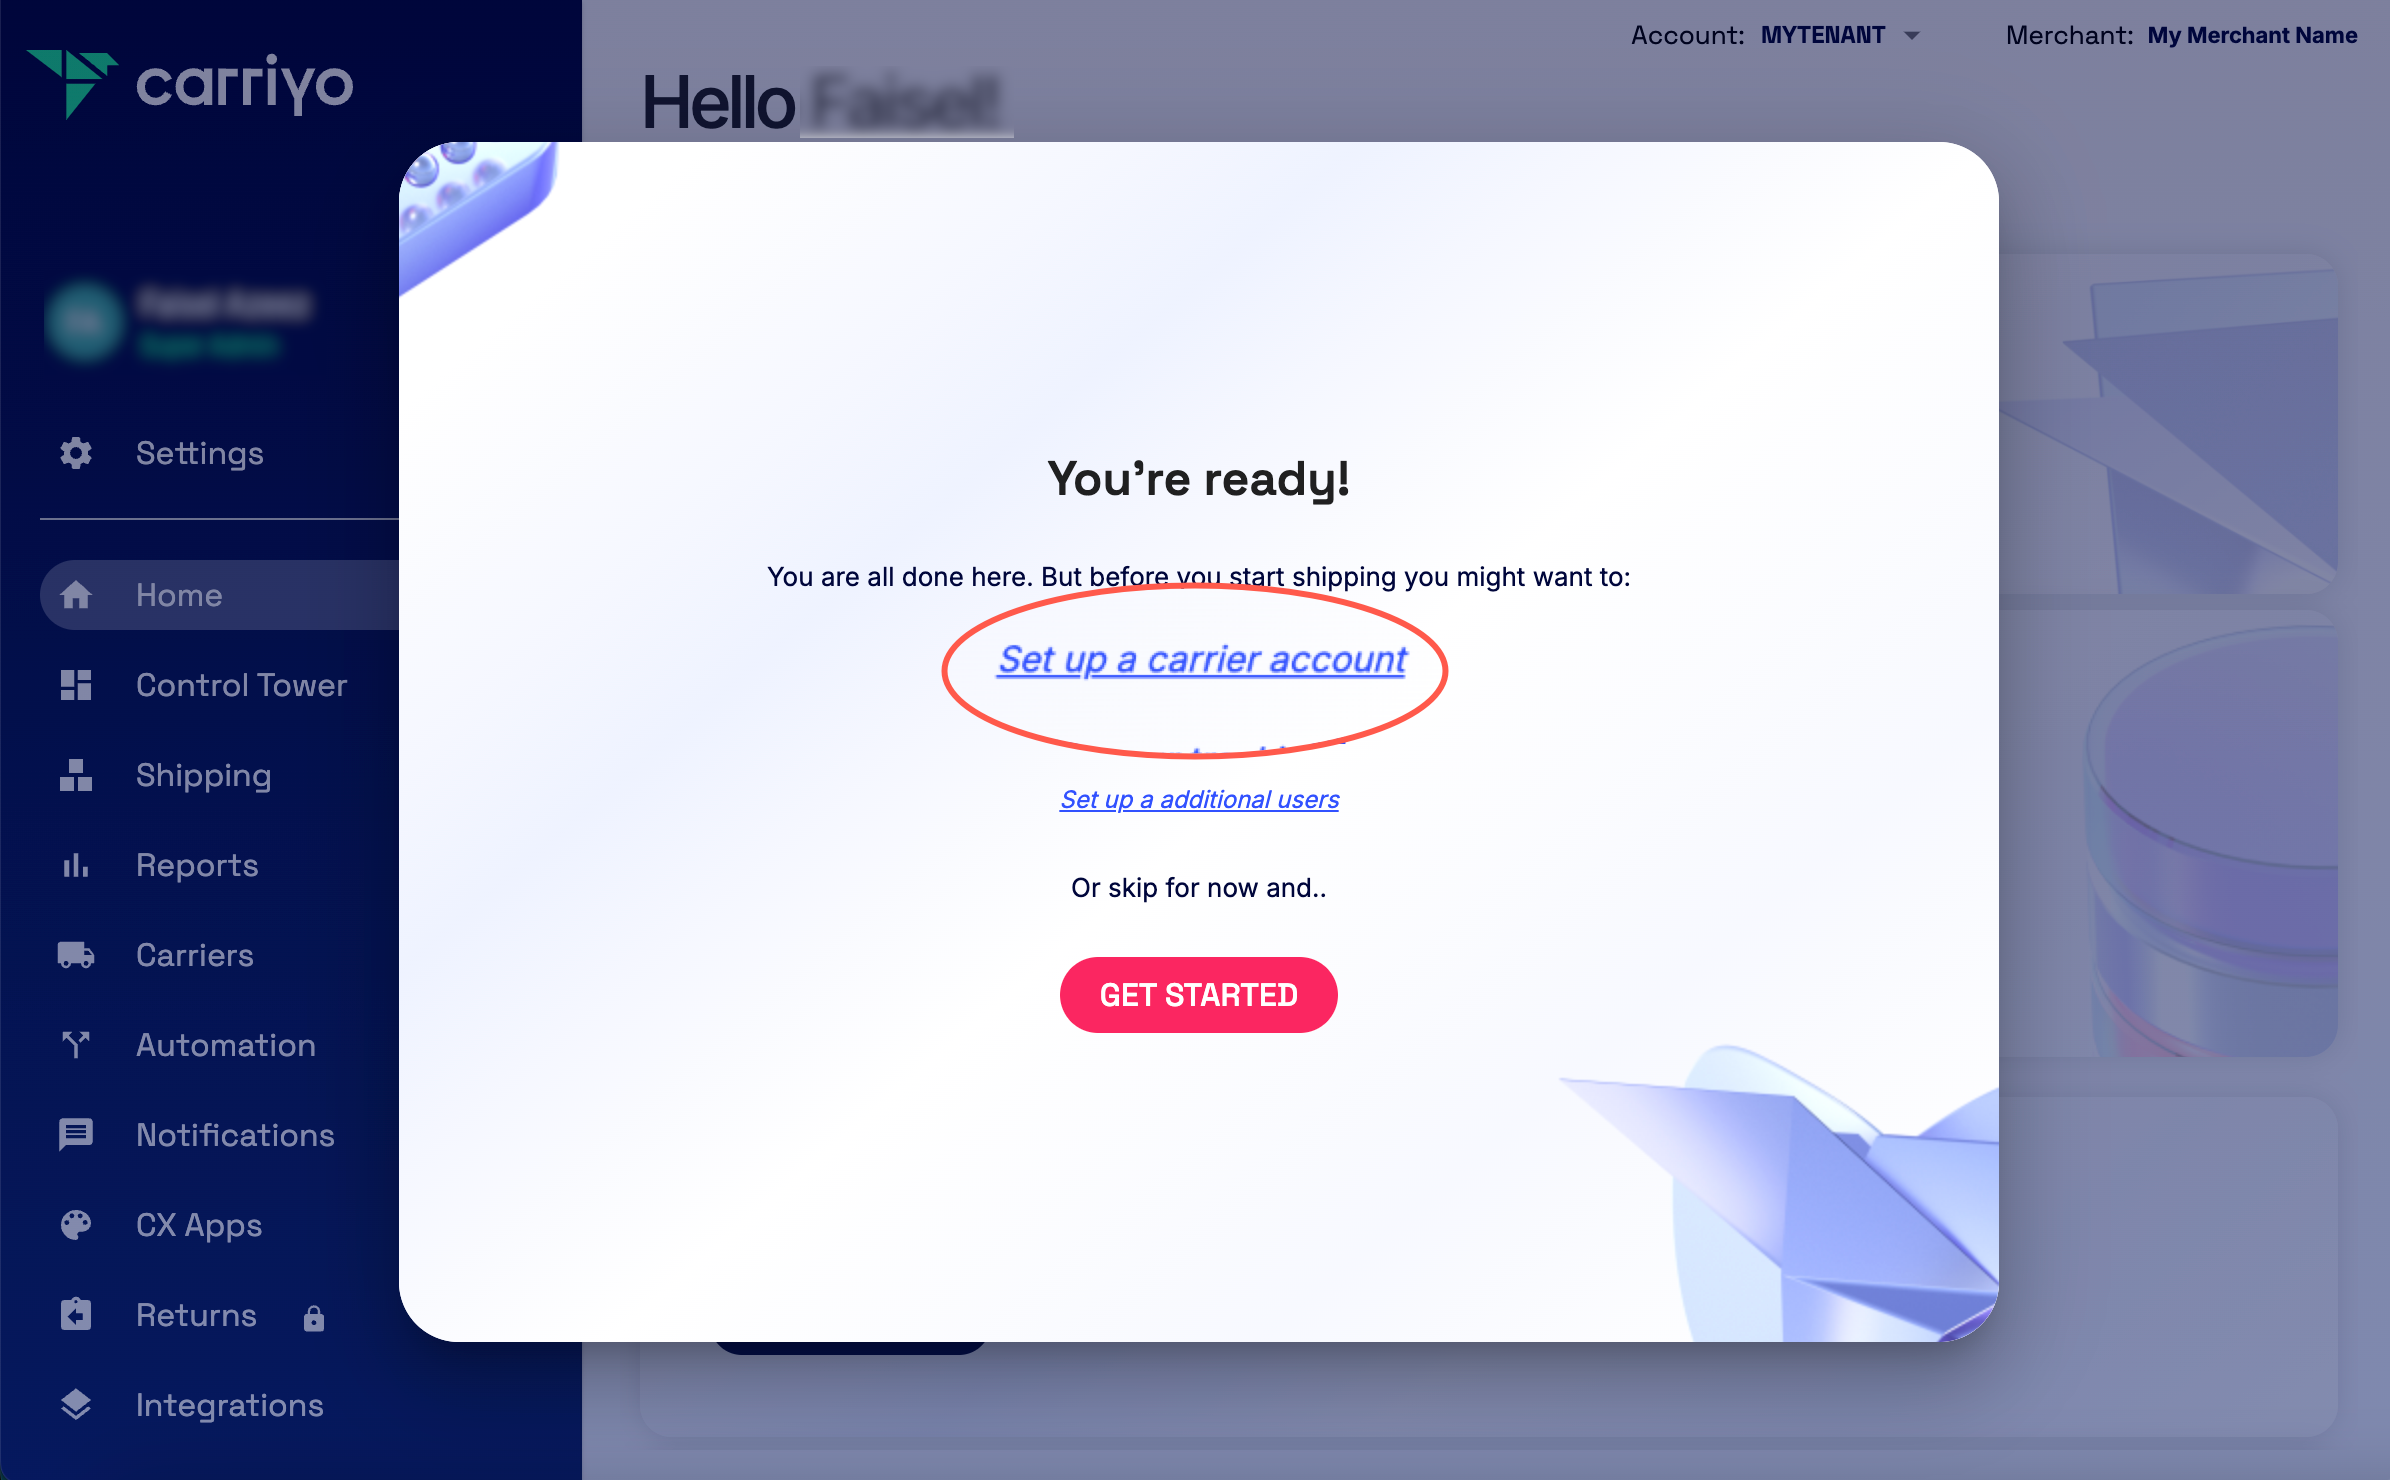
Setup your carrier account
: Follow the link to configure your carrier accounts. A carrier account includes details such as your account with the carrier, selected carrier services, and any other settings. If you don't have carrier account details readily available, you can create a test carrier account to complete setup.
- Setup automation rules (Optional) : You can optionally configure automation rules to streamline carrier account selection based on specific business rules.